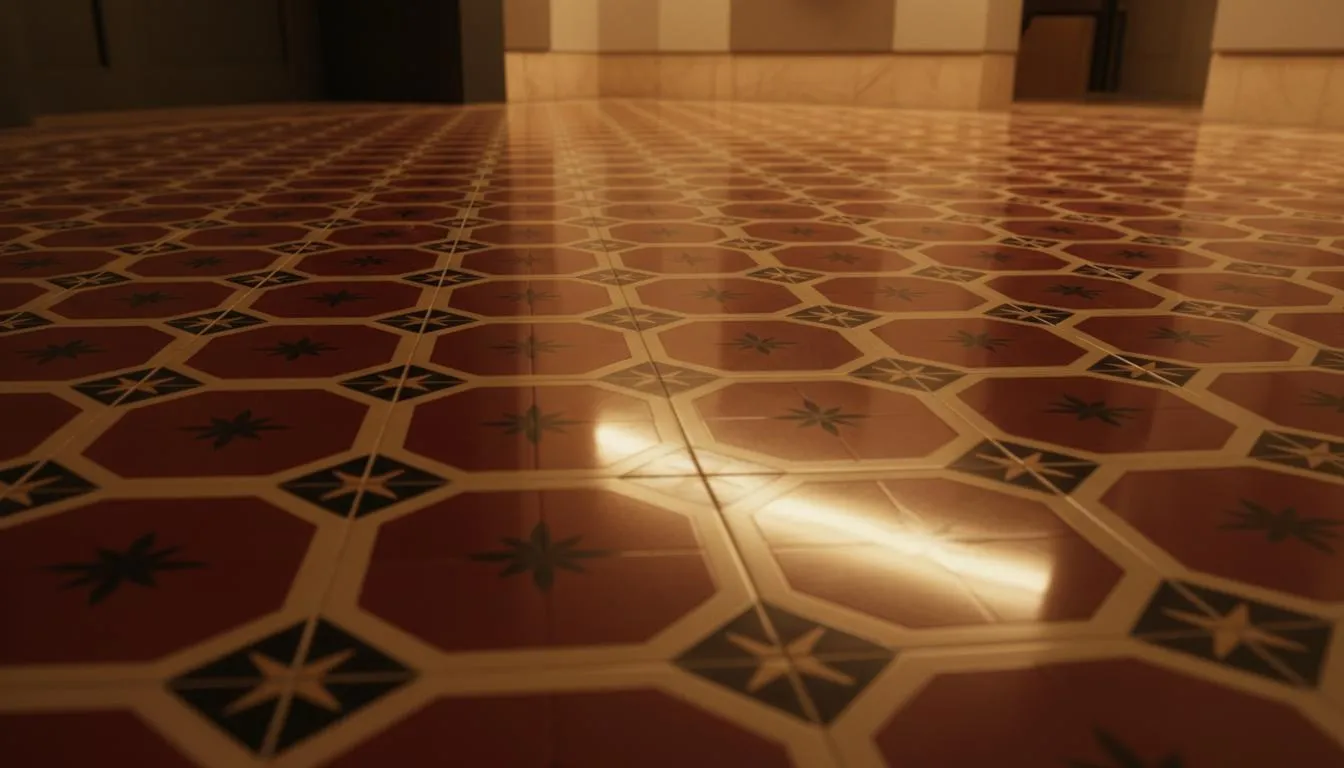
How to Restore a Nolla Hydraulic Floor
Restoring a Nolla mosaic floor requires careful treatment. The process involves deep cleaning to remove dirt and old waxes, repairing or replacing damaged parts, leveling with mortar, gently polishing, and applying a protective sealant or varnish.
Thorough cleaning
Before doing anything, remove dust and dirt. Do not use bleach, ammonia or strong acidic products directly, as they would damage the material.
- Use a specific cleaner (such as Sanigel) or a neutral soap with warm water.
- Scrub with a soft brush or scouring pad to remove surface stains.
Removal and repair
The Nolla mosaic is made up of thousands of small pieces (tesserae).
- If there are loose pieces, use a fine chisel and rubber hammer to remove them.
- Clean the hole well, removing remains of old mortar, and lightly moisten the base.
Leveling and placement
- Prepare a mortar or iron at the exact height so that the new pieces are level.
- Place the new tiles, fitting them into place, respecting the original drawing.
Polished and brightened
Unlike marble, these mosaics They do not allow aggressive polishing.
A gentle technical process adapted to the hardness of the tile is used to recover the original shine.
Protection and sealing
As floors are porous, the last vital step is to protect them against future stains and humidity.
Apply a protective treatment or specific varnish for hydraulic or Nolla floors. This will nourish the mosaic, give it shine and prevent it from absorbing liquids.